On this page:
- Add new information to data tables (online)
- Add new information to data table (via Excel)
- Update information in data table (via Excel)
- Managing very large data tables (over 50,000 rows)
Add new information to data table (online)
From any page on DevResults, click "In Data Tables" under the Data tab.

This takes you to the data table index. Click on the data table you would like to add data to.

This will display the Data tab for this data table. To begin entering data, click on the "+Add new record" button. This will open a Data Form where you can enter data for each row. (The fields available here will depend on the columns defined in your data table.) You can then enter data for the fields.

Click "Save" when you've finished adding data.
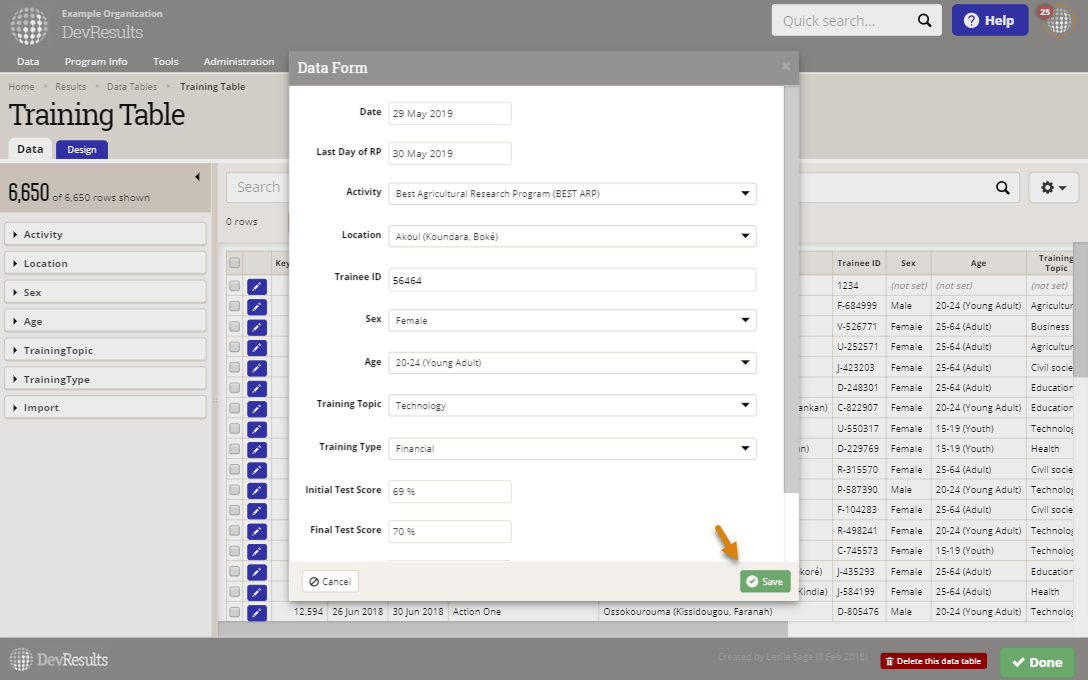
If you have more than one record you'd like to enter, click the "+Add New Row" button at the bottom of the pop-up box to go to another blank record. Once you've completed adding new records, you can click the "Done" button to save.

If you need to correct an existing entry, click on the relevant row to open its Data Form and update the necessary field(s) in the Data Form. Your change is saved as soon as you navigate to a different field.
Add new information to data table (via Excel)
Before you upload a spreadsheet containing data, there are a few quick tips to get you started:
- Your Excel spreadsheet should have columns for every column in the data table. It can have more columns than are in the data table, but it should not have less.
- While your Excel spreadsheet column headers can be anything, the import will go faster if your spreadsheet's column headers match the data table column headers.
- DevResults provides you with data table templates that you can download and fill with new information.
- Be sure your Excel spreadsheet is saved in a location that you can easily access before you begin the upload process.
- Records uploaded from Excel will appear in the data table in the exact order they appear in the spreadsheet.
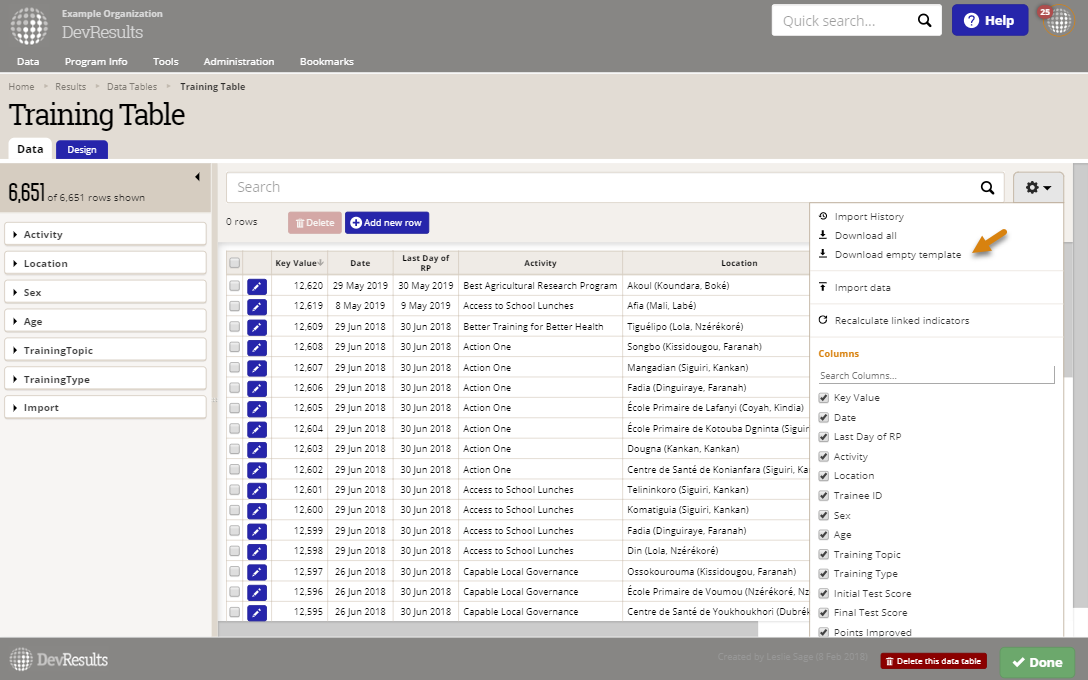
Once you have a spreadsheet containing data, navigate to the data table of interest via Data > In Data Tables. In the data table Data tab, click on the gear icon. You have the option of downloading an empty template that you can use to fill in any new information, or download all data in that data table. which you can use to update existing data.
If you choose to export all existing data and do not want to create duplicates of this information in the uploading process, delete all rows in the spreadsheet that you do not want to make changes to before uploading the revised data table.
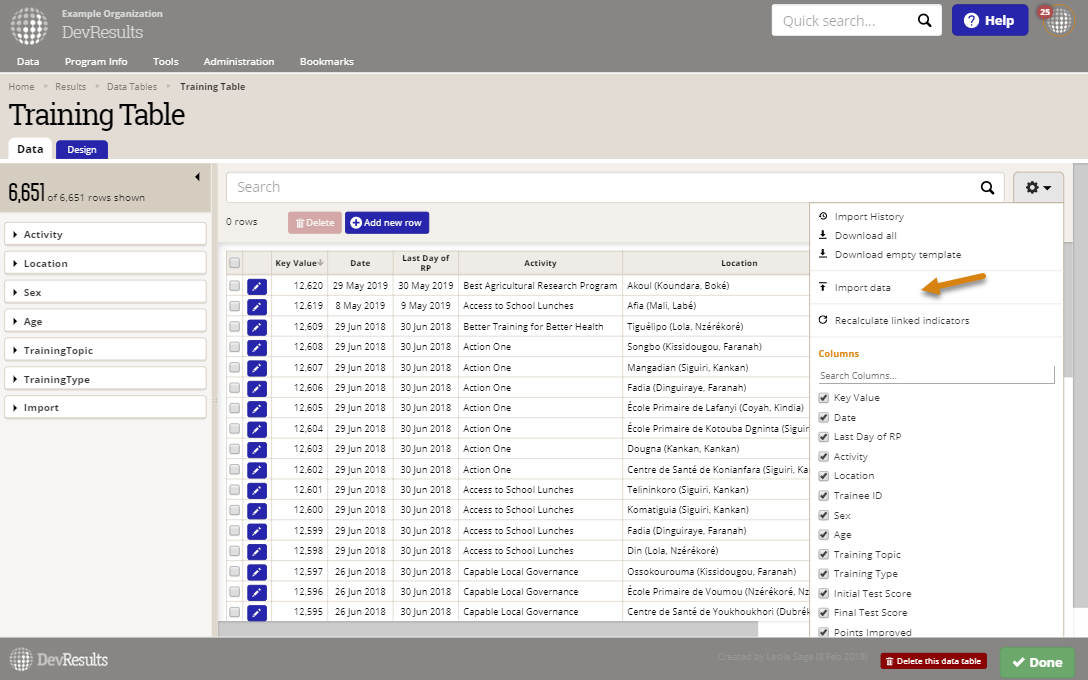
To upload a spreadsheet with data, click the gear icon in the top right corner, and then select the Import data option.
You can click the Choose File button or drag and drop your spreadsheet into the popup box.
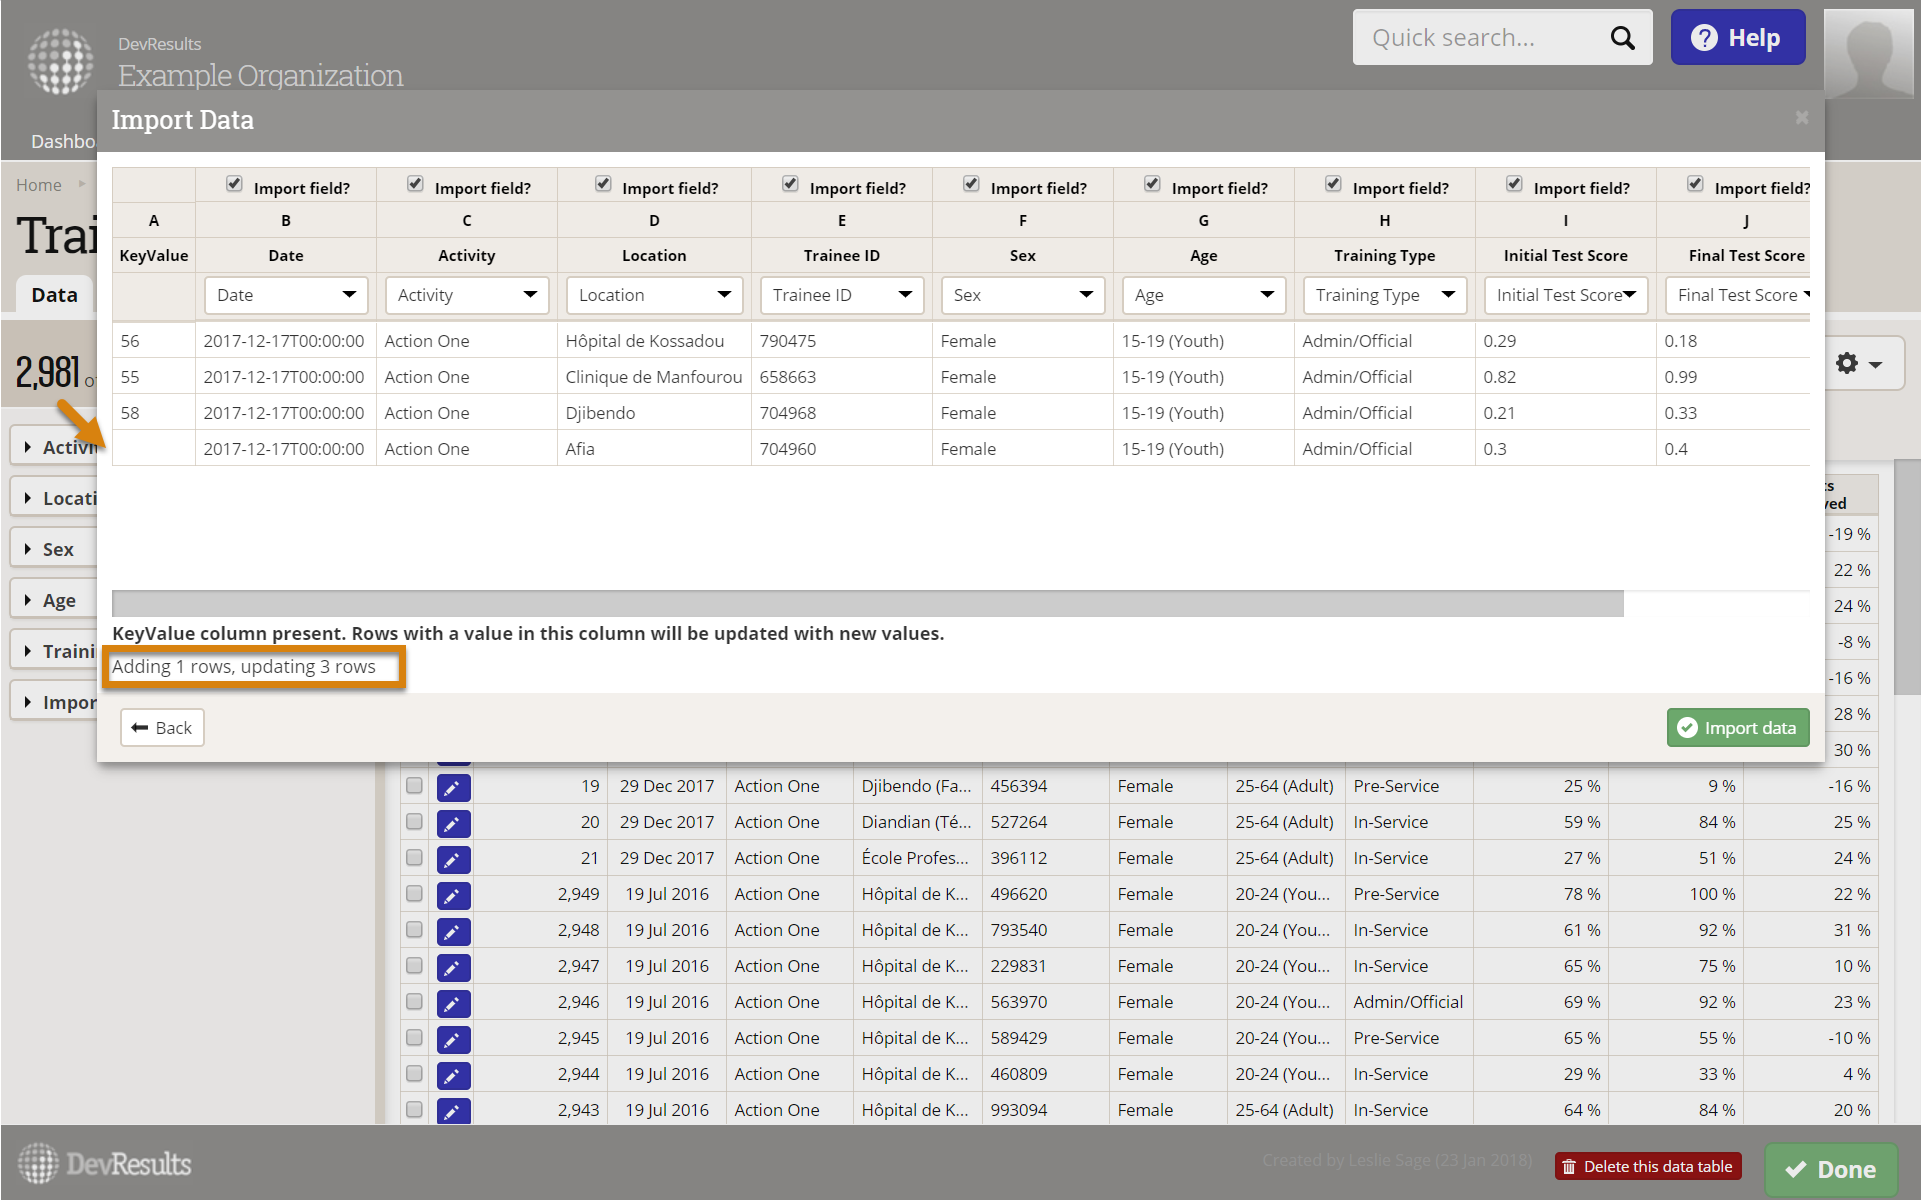
Browse to the file you created earlier and select it. If you have a multi-sheet Excel file, select the sheet you want to upload. The system will try to map the columns in your spreadsheet to the columns in the data table--if you used the same column headings, it should do this flawlessly. If you named the columns something else, you can select the correct column title from the dropdown of column names. Review the settings here to make sure they match properly. If you don't want to import a column, you can uncheck the Import field option.

The data table has now been updated with the new information.
Once the data is imported, you'll return to the spreadsheet view of the data table. You can now make edits to the data online, or download a spreadsheet containing the entire data table.
Update information in data table
To make updates to existing rows, select the Download all button.

Once you've made the changes to your Excel spreadsheet, select Import data to begin the upload.

You can review the data that you are uploading in the Import Data popup. The KeyValue column will indicate the rows with updated data (ones with KeyValues) and any new rows being added (ones where KeyValue is blank). In the example below, three rows are being updated and one new row of data is being added.
In the example below, we have filtered to the spreadsheet we just imported and you can see that only one row (the row added) is associated with it.
To review the rows changed in the spreadsheet we imported, click on the gear icon and select Import History. You can then download the spreadsheet you want to review.
Managing very large data tables (over 50,000 rows)
While the vast majority of data tables in DevResults have less than 50,000 records, very large tables can cause slow performance. To avoid this, DevResults will only load up to 50,000 rows initially and provide a warning message if additional rows remain. You can still download or upload templates, but the search filters will only query the 50,000 rows initially loaded. Users can always load all rows by clicking on the warning message seen below. It is important to note that this has no effect on indicator results that are populated from a data table; those indicators will continue to incorporate all records regardless of the size of the data table.

For tables over 1 million records, it will not be possible to "Download all" records because Microsoft Excel is limited to just over 1 million rows of data. DevResults can support data tables much larger than this, but Excel cannot. You may also run into issues downloading tables with over 900,000 records due to system timeouts. In this instance, you can contact help@devresults.com and we can discuss how best to send you the table.
Didn't answer your question? Please email us at help@devresults.com.